Setup flow
| # | Step | Description |
|---|---|---|
| 1 | Turn SSO on | Turn SSO on in the Infrascale Dashboard |
| 2 | Set SSO scope | Select accounts to apply SSO for |
| 3 | Create SSO app | Set up and configure Azure app for SSO |
| 4 | Configure SSO | Choose SSO configuration method and provide configuration details |
Turn SSO on
To set up SSO, you need to turn it on first in the Infrascale Dashboard. For this:
Sign in to the Infrascale Dashboard.
Use an account with the administrator role.
In the menu, go to Settings › Single Sign-On.
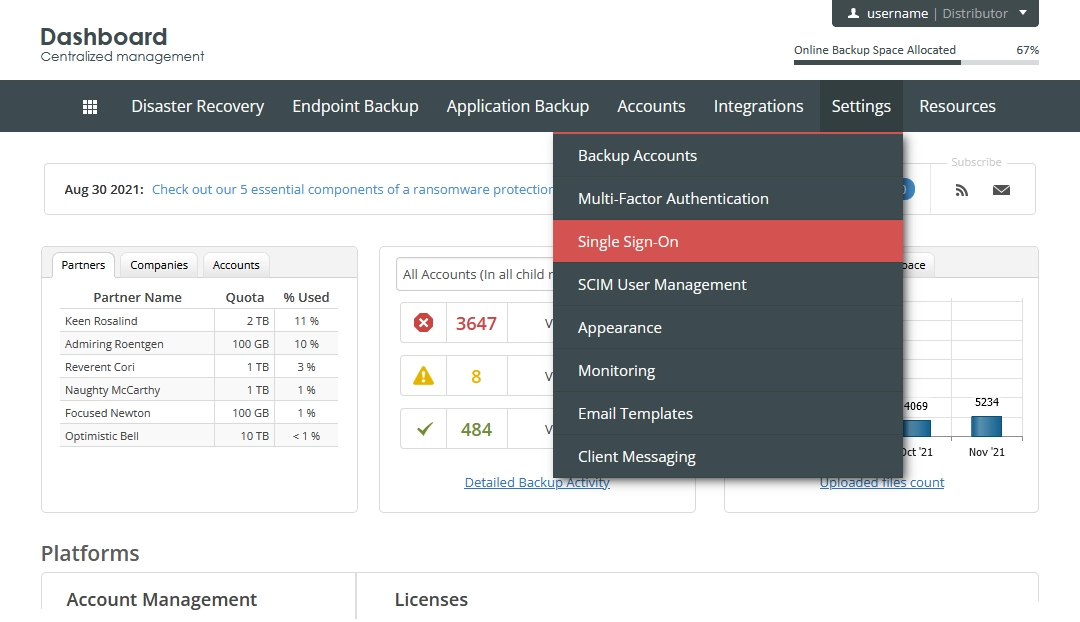
The SSO settings page opens.
Select Enable Single Sign-On (SSO) to expand configuration settings.
Configuration settings include the following groups:
Group Description Enable SSO for This group of settings lets you set the SSO scope—that is, to select the predefined account groups and to specify individual accounts to apply SSO for Service Provider Settings This group includes settings to use when creating SSO app in Azure Identity Provider Settings This group of settings lets you choose how to configure SSO and provide configuration details 
Continue with setting the SSO scope.
Set SSO scope
You can set the scope of SSO—that is, to select accounts to apply SSO for.
To map accounts, account names on the service provider side (that is, within the Infrascale services) must match the account emails on the Azure AD side.
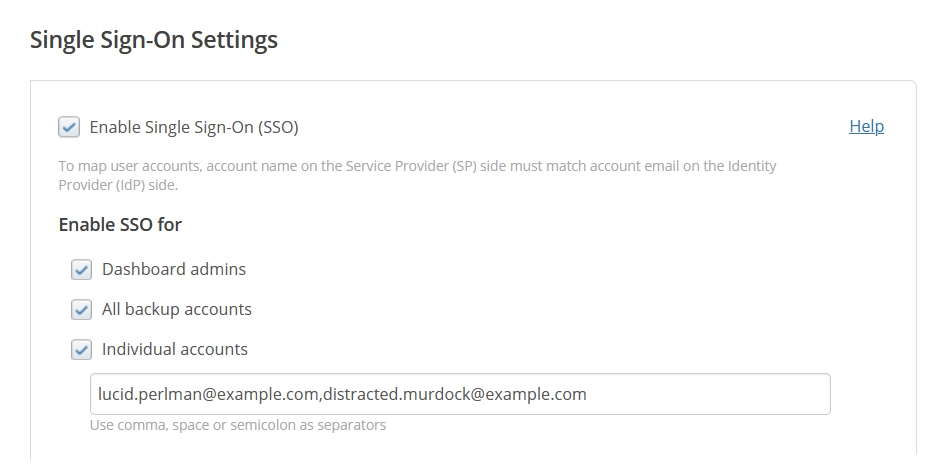
In the Enable SSO for group, select one or more available account groups:
Dashboard admins to enable SSO for the Infrascale Dashboard accounts with the administrator role;
All backup accounts to enable SSO for all backup accounts;
Individual accounts to enable SSO only for specific Infrascale accounts.
Enter one or more account usernames separated by comma, space, or semicolon.
Continue with creating an SSO app in Azure.
Create SSO app
In the Azure portal, go to Azure Active Directory.
Select Add › Enterprise application.
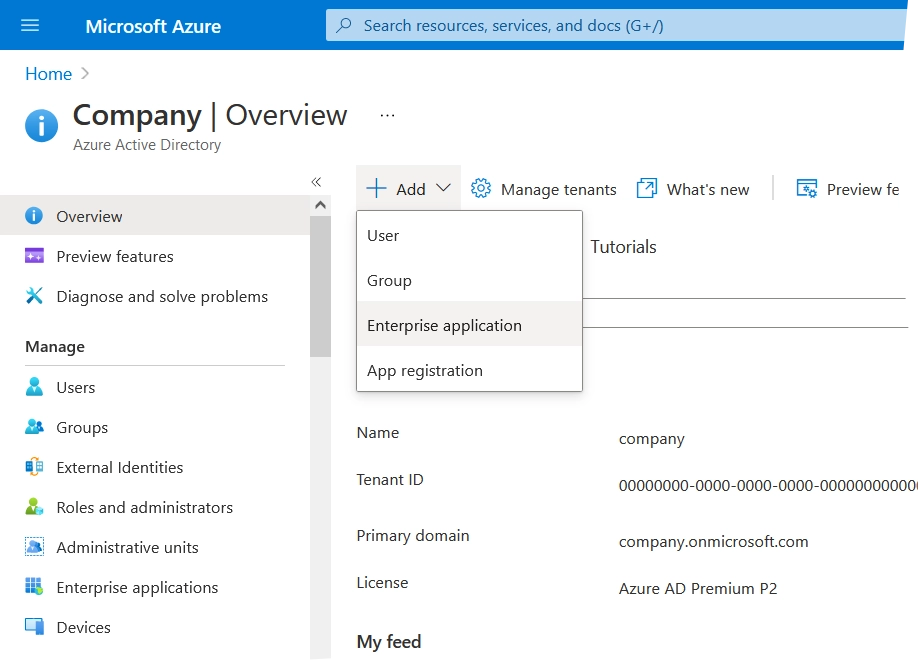
Azure AD Gallery opens.
Select Create your own application.

The app creation wizard opens.
Enter a name for the app, select Integrate any other application you don’t find in the gallery (Non-gallery), and then click Create.
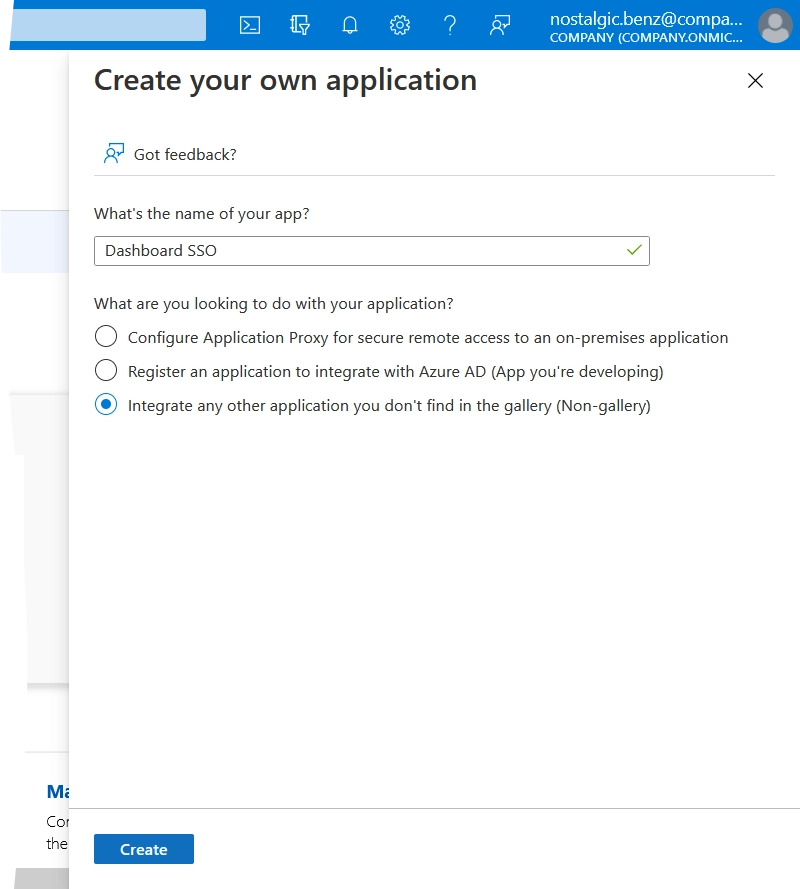
The system creates the app, adds it to the gallery, and the app configuration page opens.
In the menu, click Single sign-on, and then click SAML.
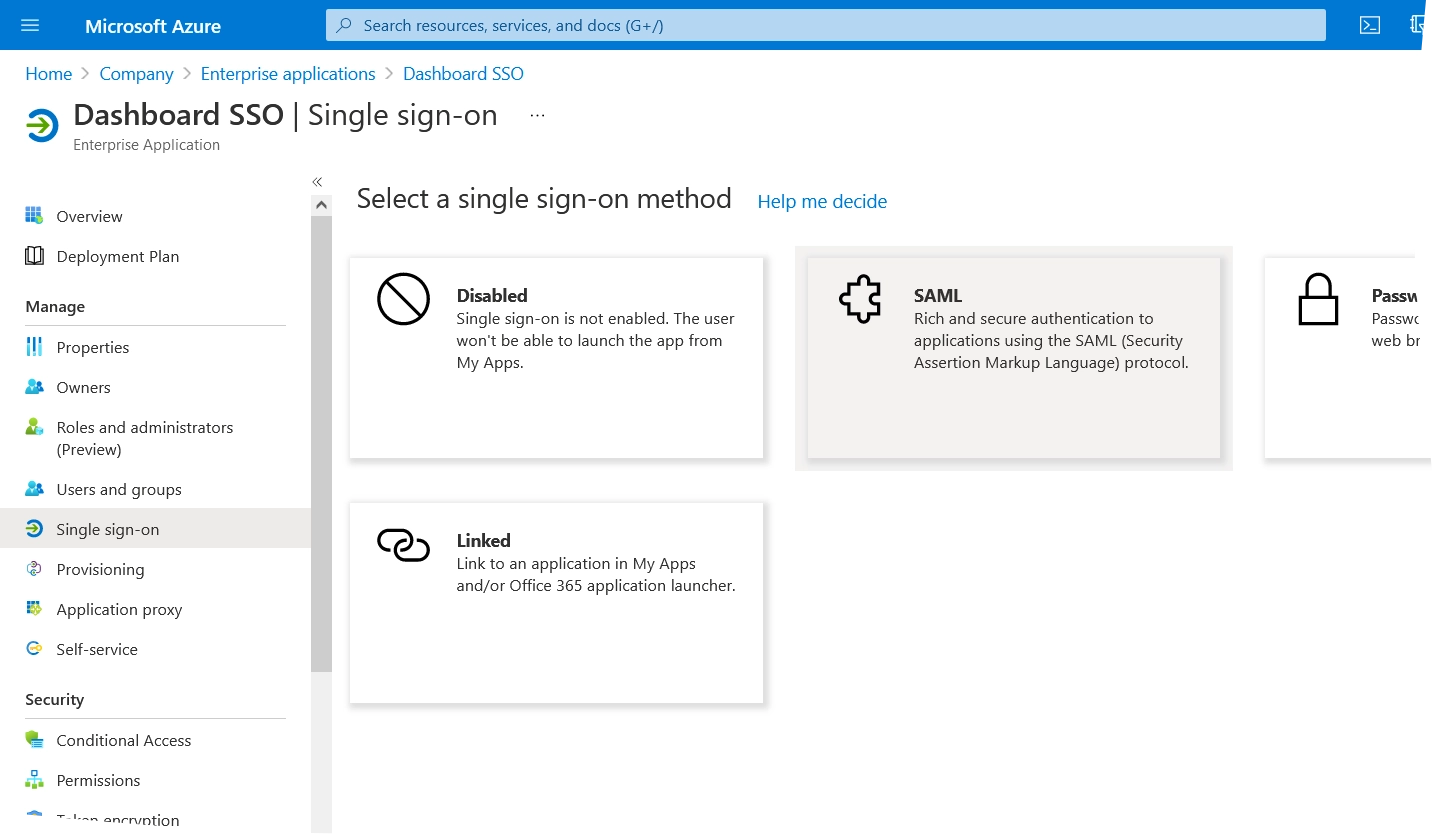
SSO configuration opens.
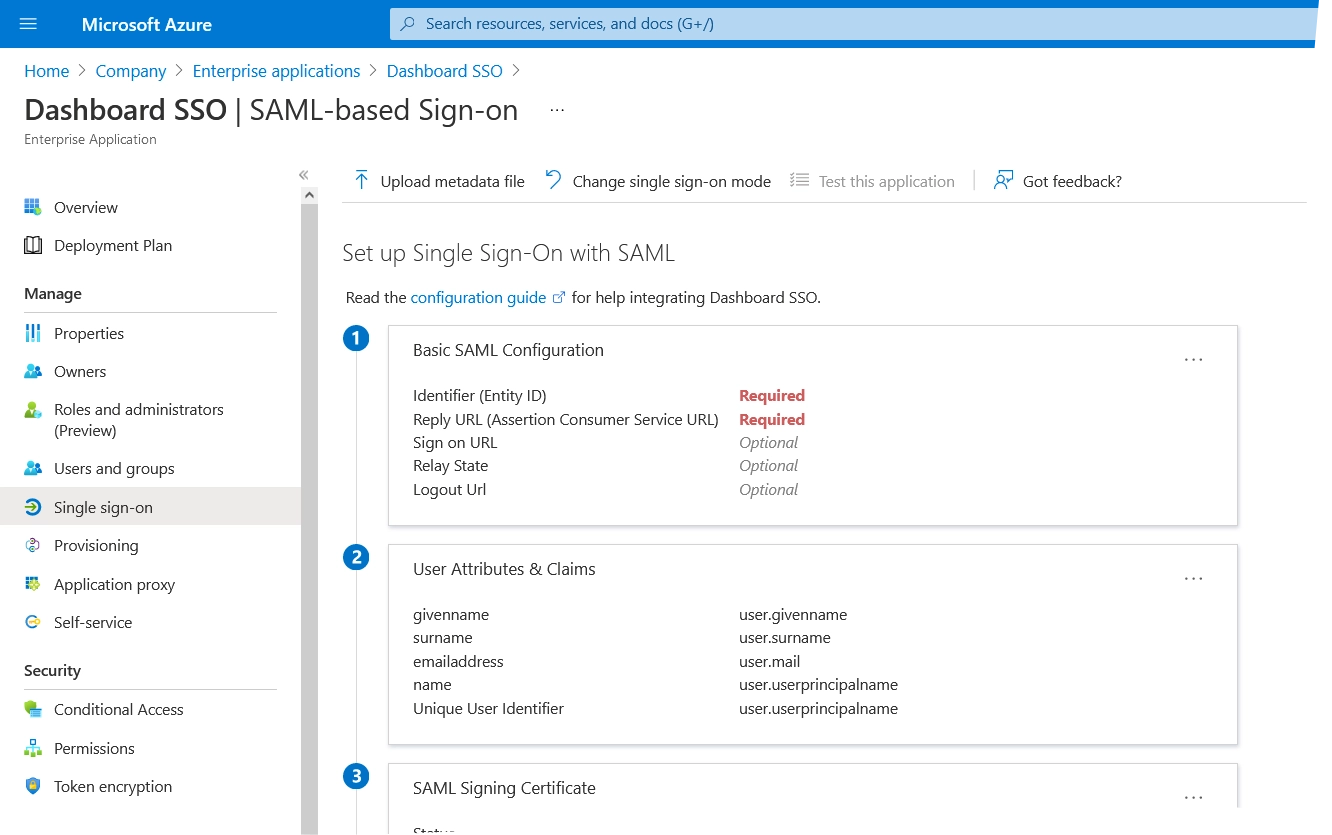
In the Basic SAML Configuration group, click Edit.
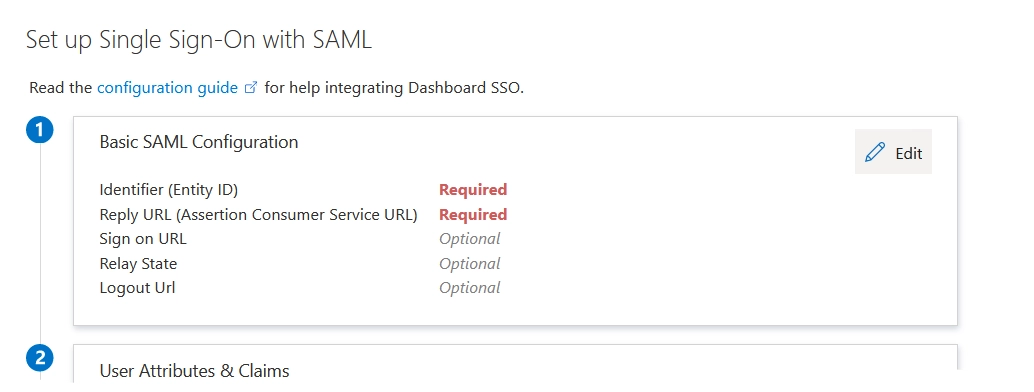
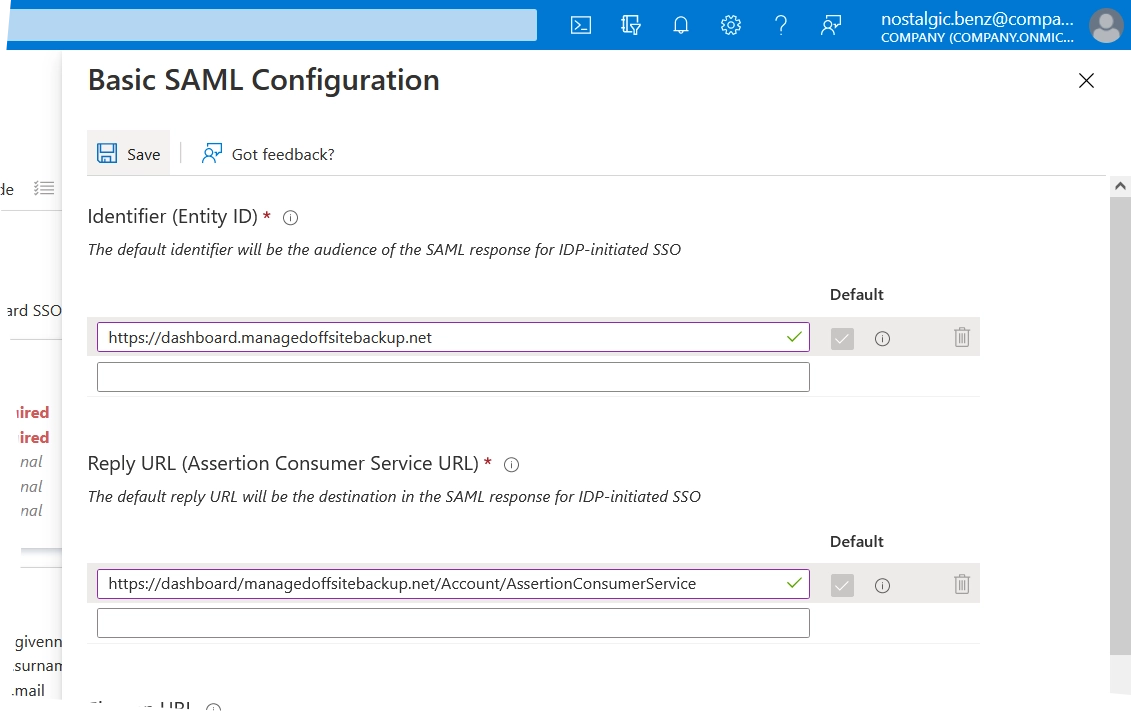
The Basic SAML Configuration dialog opens.
In the Basic SAML configuration dialog:
In the Identifier group, enter the service provider entity ID in the respective box, and select it as default.
You can find the service provider entity ID on the Infrascale Dashboard SSO settings page in the Service Provider Entity ID box.
In the Reply URL group, enter the reply URL address in the respective box.
You can find the reply URL address on the Infrascale Dashboard SSO settings page in the Reply URL box.
Click Save to apply changes.
Continue with configuring SSO in the Infrascale Dashboard.
Configure SSO
To configure SSO in the Infrascale Dashboard, you must provide the SAML metadata. For this, in the Identity Provider Settings group, choose one of the following options:
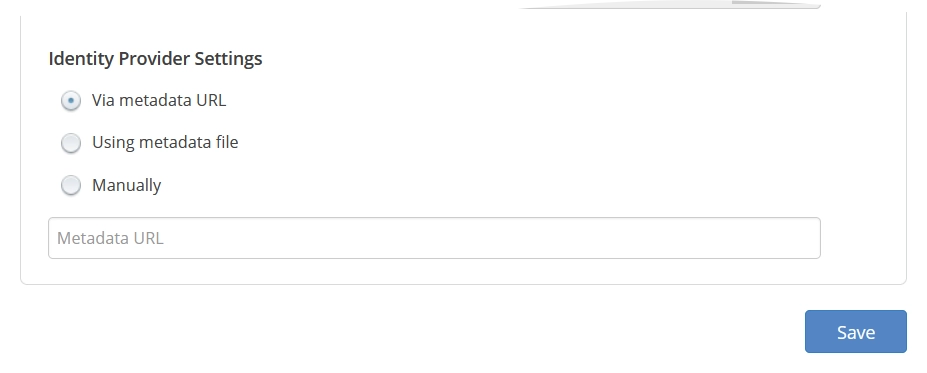
Via metadata URL
With this option, the system retrieves SAML metadata necessary for SSO from the metadata URL address you enter.
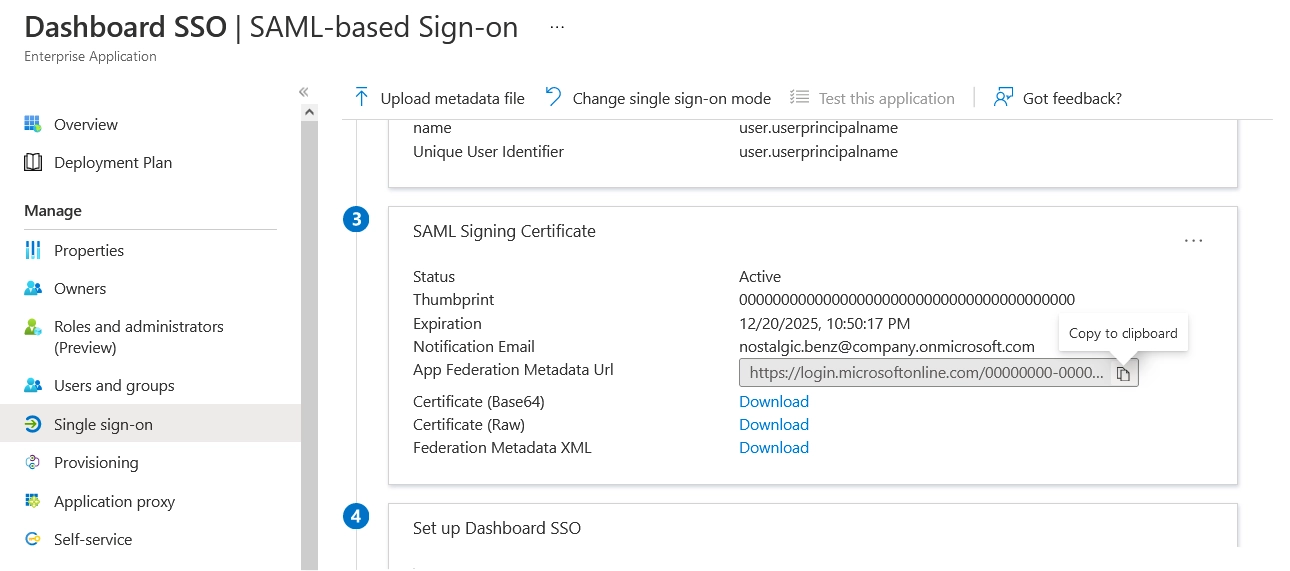
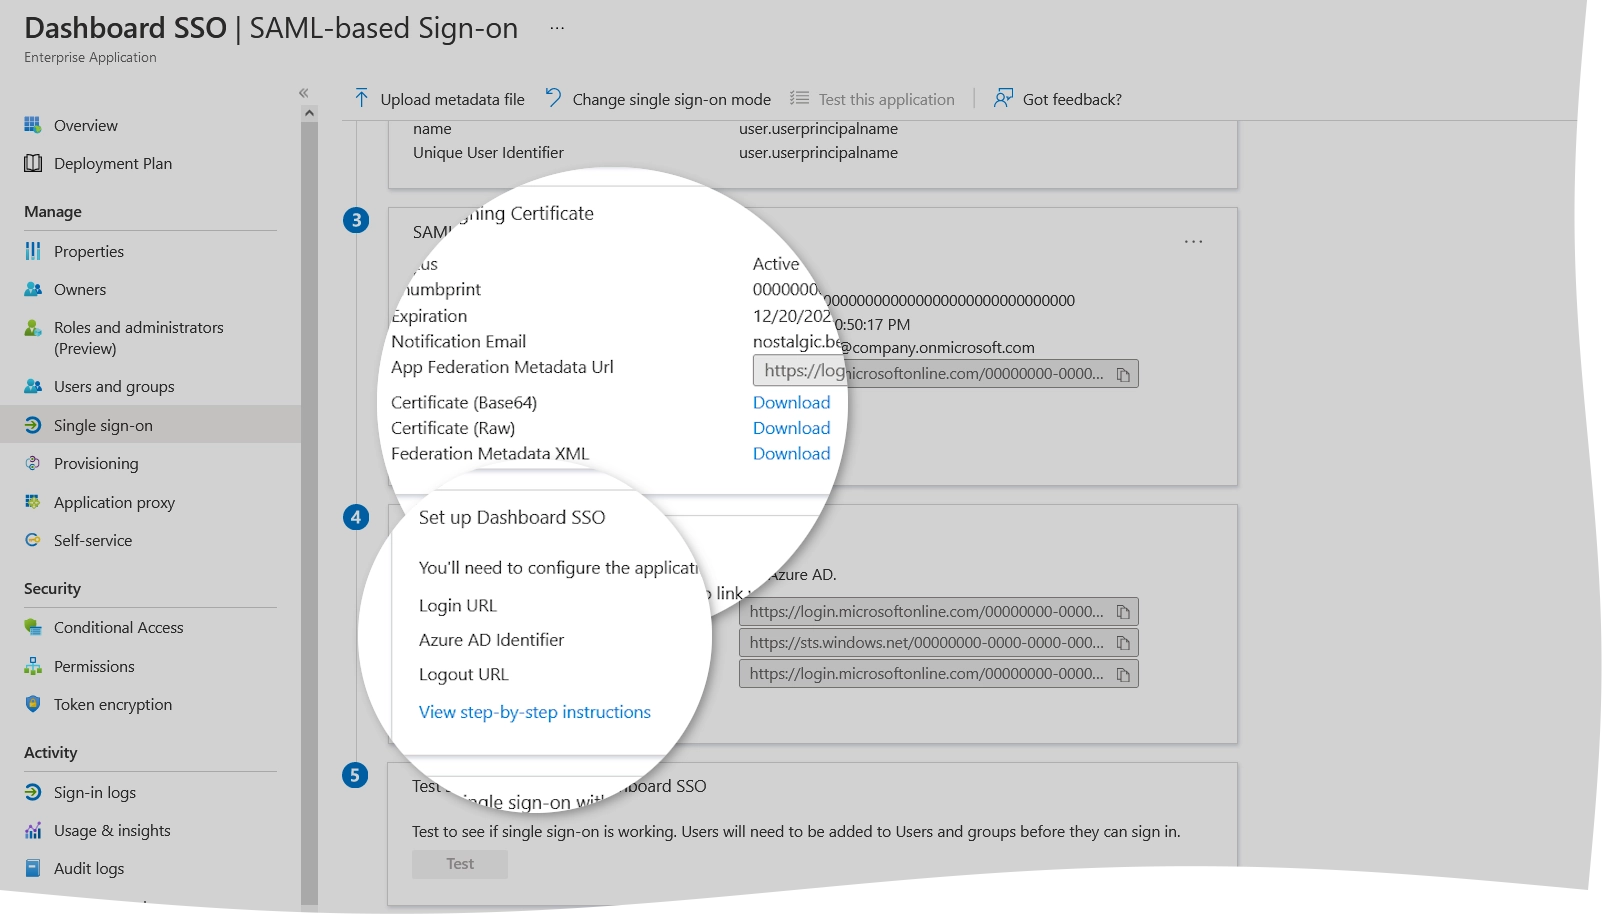
Go to the SSO SAML configuration of the newly created Azure app.
In the SAML Signing Certificate group, copy the address from the App Federation Metadata Url box.
Go to the SSO settings page in the Infrascale Dashboard.
In the Identity Provider Settings group, select Via metadata URL, and then enter the copied address in the respective box.
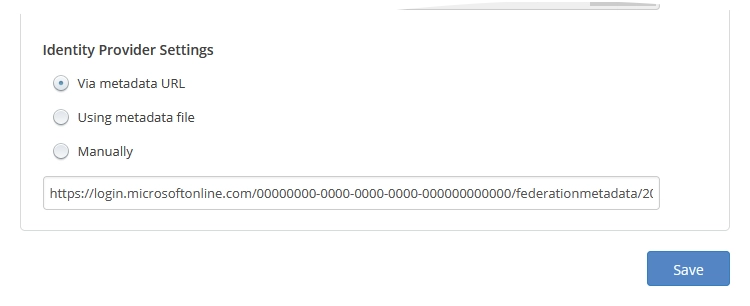
Click Save to apply changes.
Using metadata file
With this option, the system retrieves SSO configuration data from the metadata file you upload.
Go to the SSO SAML configuration of the newly created Azure app.
In the SAML Signing Certificate group, download Federation Metadata XML to your device.

Go to the SSO settings page in the Infrascale Dashboard.
In the Identity Provider Settings group, select Using metadata file, and then import the downloaded metadata file.
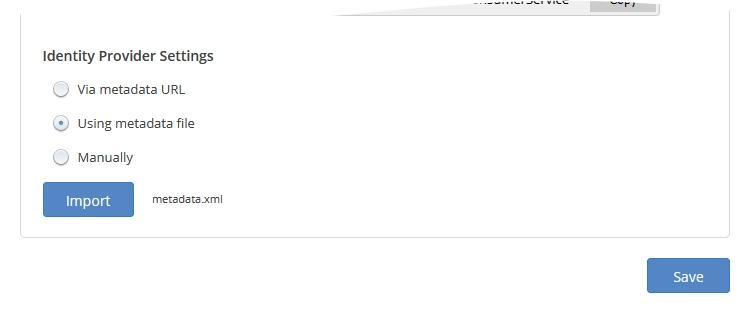
Click Save to apply changes.
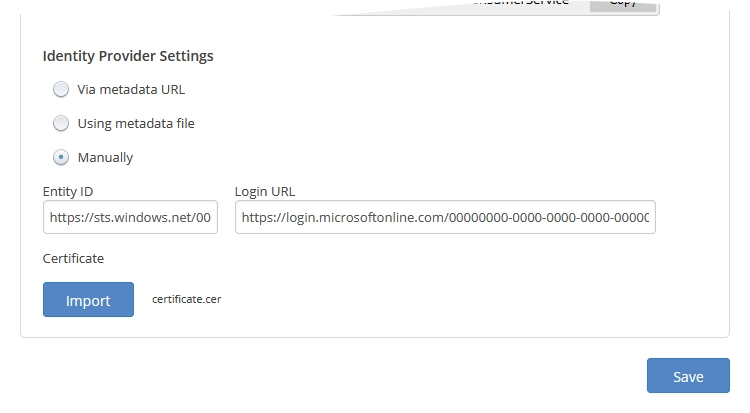
Manually
With this option, you manually enter the minimum required metadata and upload the certificate to configure SSO.
Go to the SSO SAML configuration of the newly created Azure app.
In the SAML Signing Certificate group, download Certificate (Base64) to your device.
In the Set up group, copy the ID from the Azure AD Identifier box and the URL address from the Login URL box.
Go to the SSO settings page in the Infrascale Dashboard.
In the Identity Provider Settings group:
Import the SAML certificate you downloaded earlier.
In the Entity ID box, enter the Azure AD Identifier you copied earlier.
In the Login URL box, enter the Login URL you copied earlier.
Click Save to apply changes.