
Overview
The Boot Verification section allows verifying DR image and VM backups by automatically booting the last successful backup on the Backup & Disaster Recovery appliance.
Enable boot verification
In the appliance Management Console:
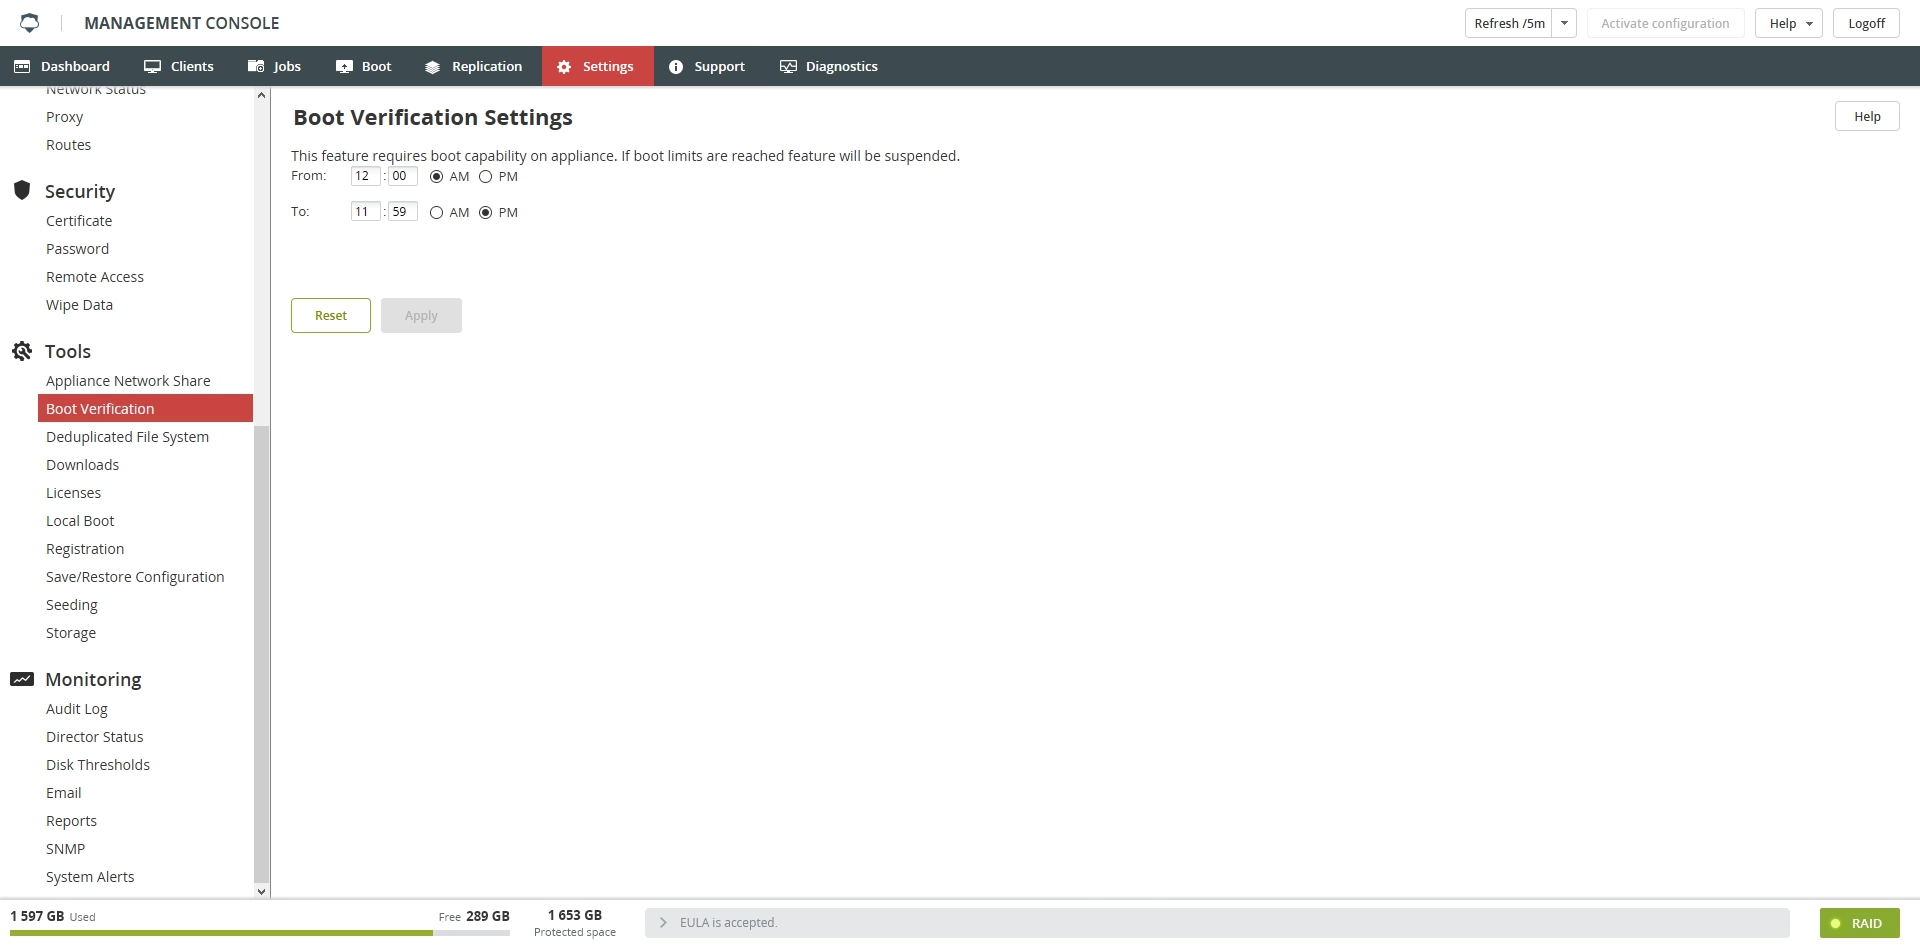
Go to the Settings tab, and then click Boot Verification in the Tools group.
Select Enable Boot Verification.
Set the time interval when boot verification will run.
Set the timeout.
Click Apply to save settings.
View boot verification results
Results of the verification are shown in the appliance Management Console › Clients › Summary. They include a boot detection screenshot and a boot status.
| Boot status | Description |
|---|---|
| Successful | Backup was successfully checked and booted by the boot verification service |
| Failed | Boot verification failed due to either: the time allotted to verification has expired (the backup could still be healthy and bootable); or other failures. Contact Infrascale Support for assistance. |
| N/A | Boot verification service did not find what to verify due to either: the appliance was rebooted or the service was restarted; thus boot verification queue was cleared, and there is nothing to verify for now; or the boot verification service is turned off |
| Unknown | Boot verification service tried to verify an operating system other then Windows |
Boot verification reporting
Boot verification report is a part of the daily appliance report.
To turn on the daily appliance report:
In the appliance Management Console, go to the Settings tab.
In the Monitoring group, click System Alerts.
In the Backup group, select Daily Summary Report.