
Requirements
Microsoft Exchange Server 2010, 2013, 2016, or 2019
Credentials of a Windows account that has permissions to back up Microsoft Exchange databases
Online Backup and Recovery Manager (OBRM) must be installed on the same machine where Microsoft Exchange Server is installed
OBRM must run with administrator privileges (Run as administrator)
Back up Exchange databases
After OBRM v5.12+ installed and the Exchange databases exist on the machine, the backup procedure can be started.
Open OBRM.
Click Manage (
 ) against Microsoft Exchange Backup.
The application will require credentials for Exchange Management Console.
Choose the Exchange machine domain from the drop-down menu and enter the appropriate credentials.
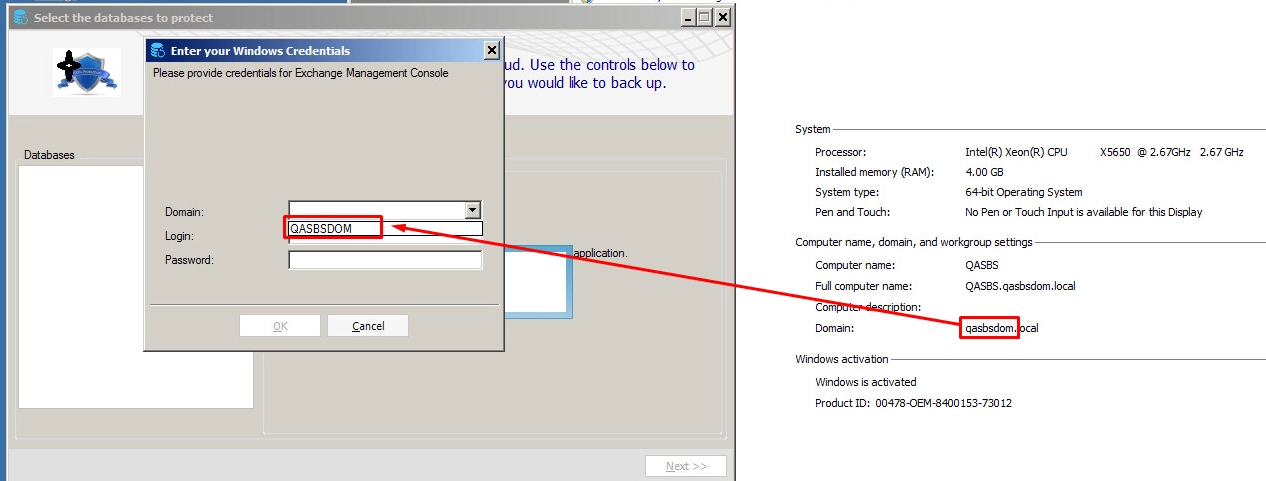
If the credentials are correct, the list of Exchange databases available for backup will be shown.
Database selection, retention policy and authentication policies
Select databases for backup.

Specify the settings for each selected database:
cloud retention policy for Exchange backups (full and incremental backups)—how long the backups should be stored in the cloud
store the last copy of an Exchange database locally at “Temp folder path” (may be needed for an urgent restore if there are problems with Live database)
“Temp folder path” that is used to store Exchange database file (
.edb) and logs created by Exchange VSS writer by request from OBRM application. It is also used to store the latest copy of Exchange database locally if the option is checked. The folder may be either a local one or located on a network folderNAS in the local network. The size of the database should be taken into consideration when choosing the Temp folder. Minimum required free space for Temp folder is the size of the database (or databases if the same folder is configured for several of them):When connecting to a Network folder, please, enter the appropriate Windows credentials to access this folder. The Windows user should have the full permissions for this folder (to be able to read/write/modify/delete files).

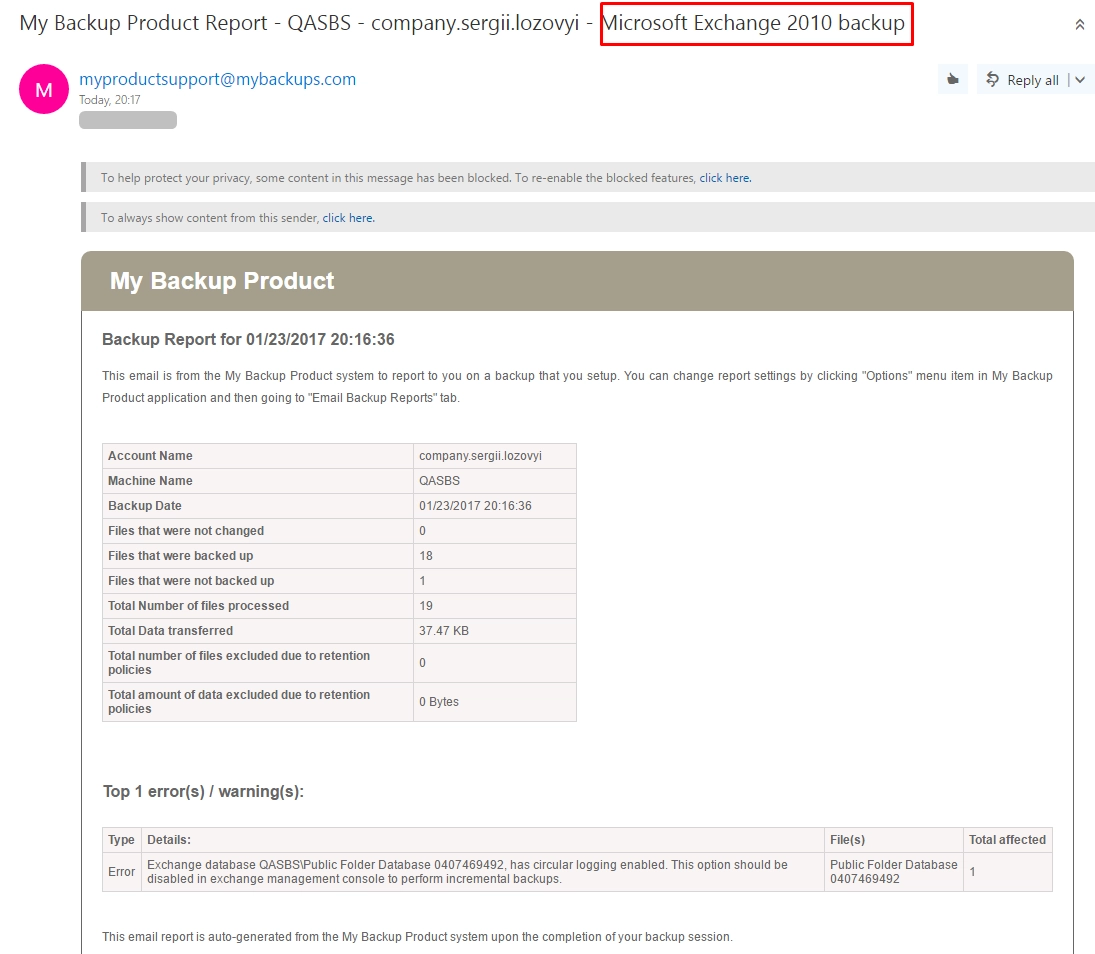
Also, warnings may appear that are related to Exchange Server configuration, for example “Please disable circular logging feature”. With this feature enabled, incremental backups will not run (consult the Microsoft knowledge base article for further details).
After Temp folders are chosen for all checked databases, Next will become active.
Click Next to configure the backup schedule.
Scheduling options
These are default scheduling options for Exchange database backups.
The backup schedule is configured for all checked databases. The most frequent schedule is following:
Full Backup every 2 days
Incremental backup every 1 day
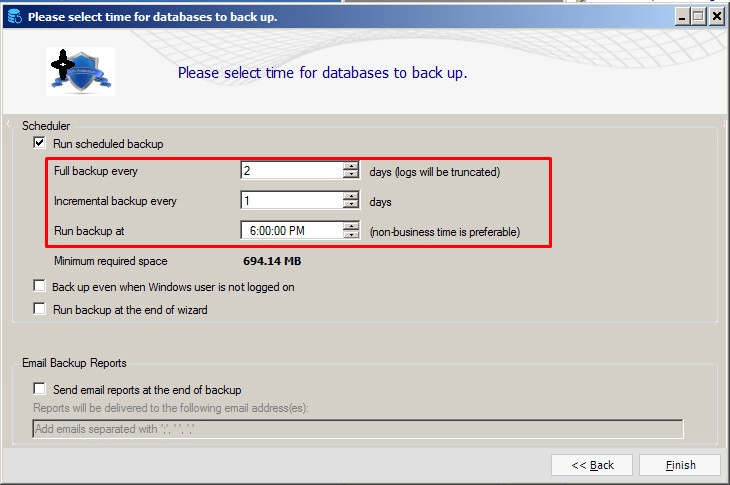
Minimum required space shows how much space is required in Temp folder(s) and in the cloud to backup chosen databases.
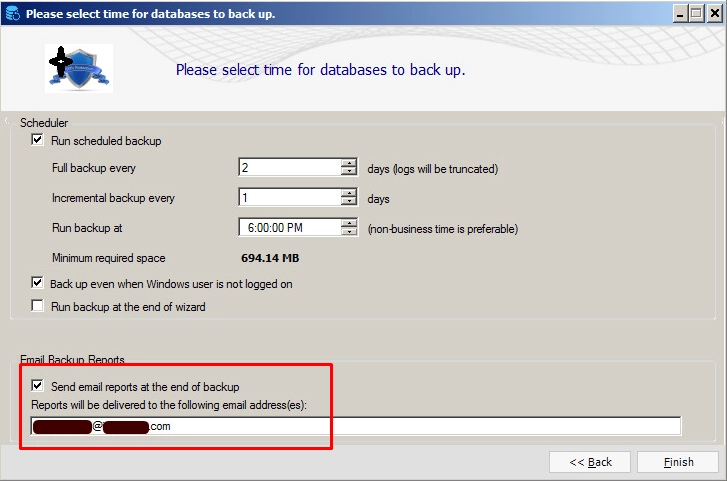
If the option Backup even when Windows user is not logged on is chosen, Window credentials should be configured for the Windows account under which the backups will run. The option is preferable for Exchange backups because usually these machines are switched on but the administrator is logged out from the operating system.
To receive backup reports after the backups, select Send email reports at the end of backup, and fill the email address where backup reports will be sent.
If it is needed to start the backup hereafter the completion of the wizard, the Run backup field at the end of wizard should be checked.

When all necessary fields are filled, click Finish to complete the wizard.
If Run backup at the end of wizard is selected, the backup will be started immediately and the following progress will appear regarding the backup of each chosen database (click Show Details and clear Close when complete) to see the details of the backup.

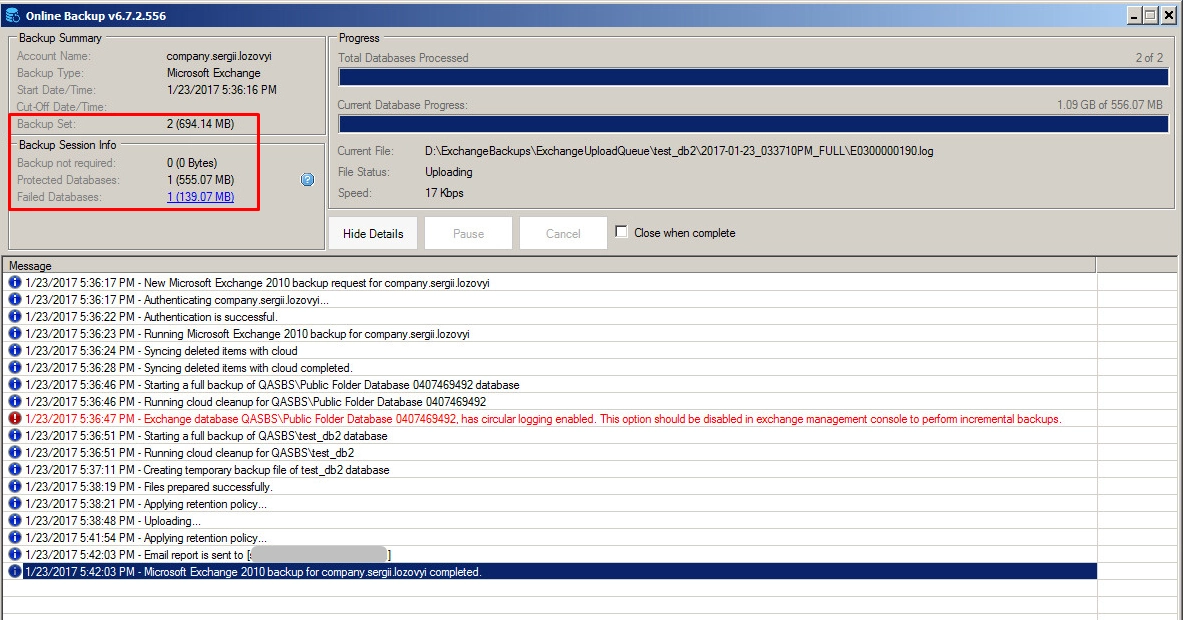
The following report is delivered to a configured email address after the backup completion.
You can check progress of the current backup, and to view details of the previous backups in the Infrascale Dashboard.
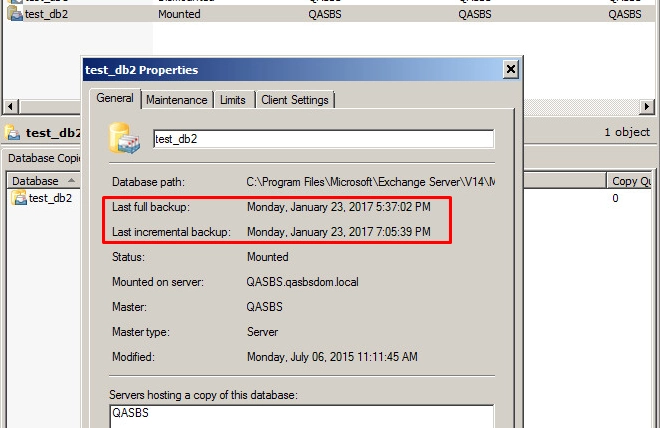
The following database properties are updated after taking Exchange backups with OBRM.
Restore Exchange databases from the cloud
Use OBRM to restore the protected Exchange databases to the local machine.
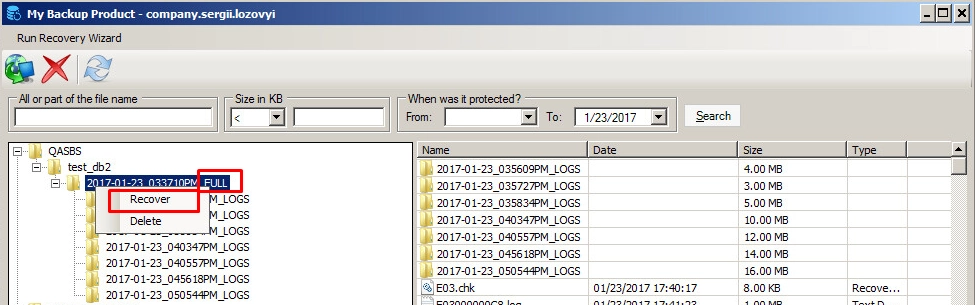
Click ViewRestore to navigate to the data stored in the cloud.
To restore the database for a chosen date, restore its previous full backup (right-click Restore) with the subsequent incremental backup. When importing the database, it will be possible to choose the needed date.
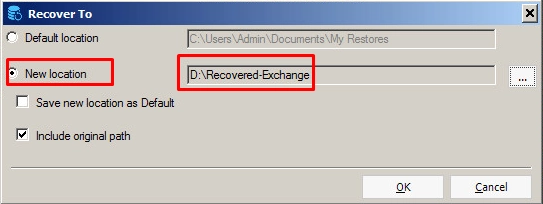
Select the location to restore files to, and then click OK.
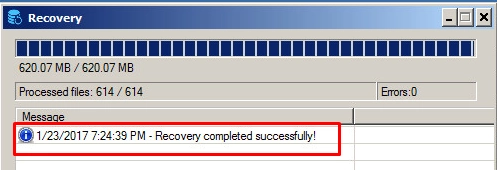
Wait for the recovery completion.
Recover to a Microsoft Exchange server
Microsoft Exchange database recovery may be performed in different ways, such as: